
Ombre Nails tutorial - Tutorial de uñas estilo Ombre
9:41:00 AM
Hi everybody!
Today I wanna share a really cute nail tutorial, yay my first!!!!
I am very excited because I really loved this nail "ombre" gradient look because I think is perfect and super cute to wear for summer, but let's get into the tutorial, shall we?
I am going to be guiding you step by step, ok...
Hola chicas!
Hoy les voy a compartir un tutorial de uñas, sí mi primero!!!!
Estoy muy emocionada porque realmente me gustó bastante este estilo "Ombre" de gradiente en las uñas, se ve muy bonito en especial ahora que se viene el verano, pero bueno, mejor pongamos manos a la obra, empecemos!!
Las voy a ir guiando paso a paso, ok?


Materials:
- Find 2 colors of nail polishes that you like(You can even use neons!!)
- A sponge
- Top coat
- A little stick, (I will use a chopstick)
- A flat surface like a plastic plate or 2 layers of parchment paper
Materiales:
- Vamos a necesitar 2 colores de esmaltes que te gusten(Puedes usar hasta neones!!)
- Una esponjita
- Un brillo de uñas
- Un palito, (yo voy a usar 1 palito chino)
- Una superficie plana como un plato desechable o 2 capas de papel pergamino
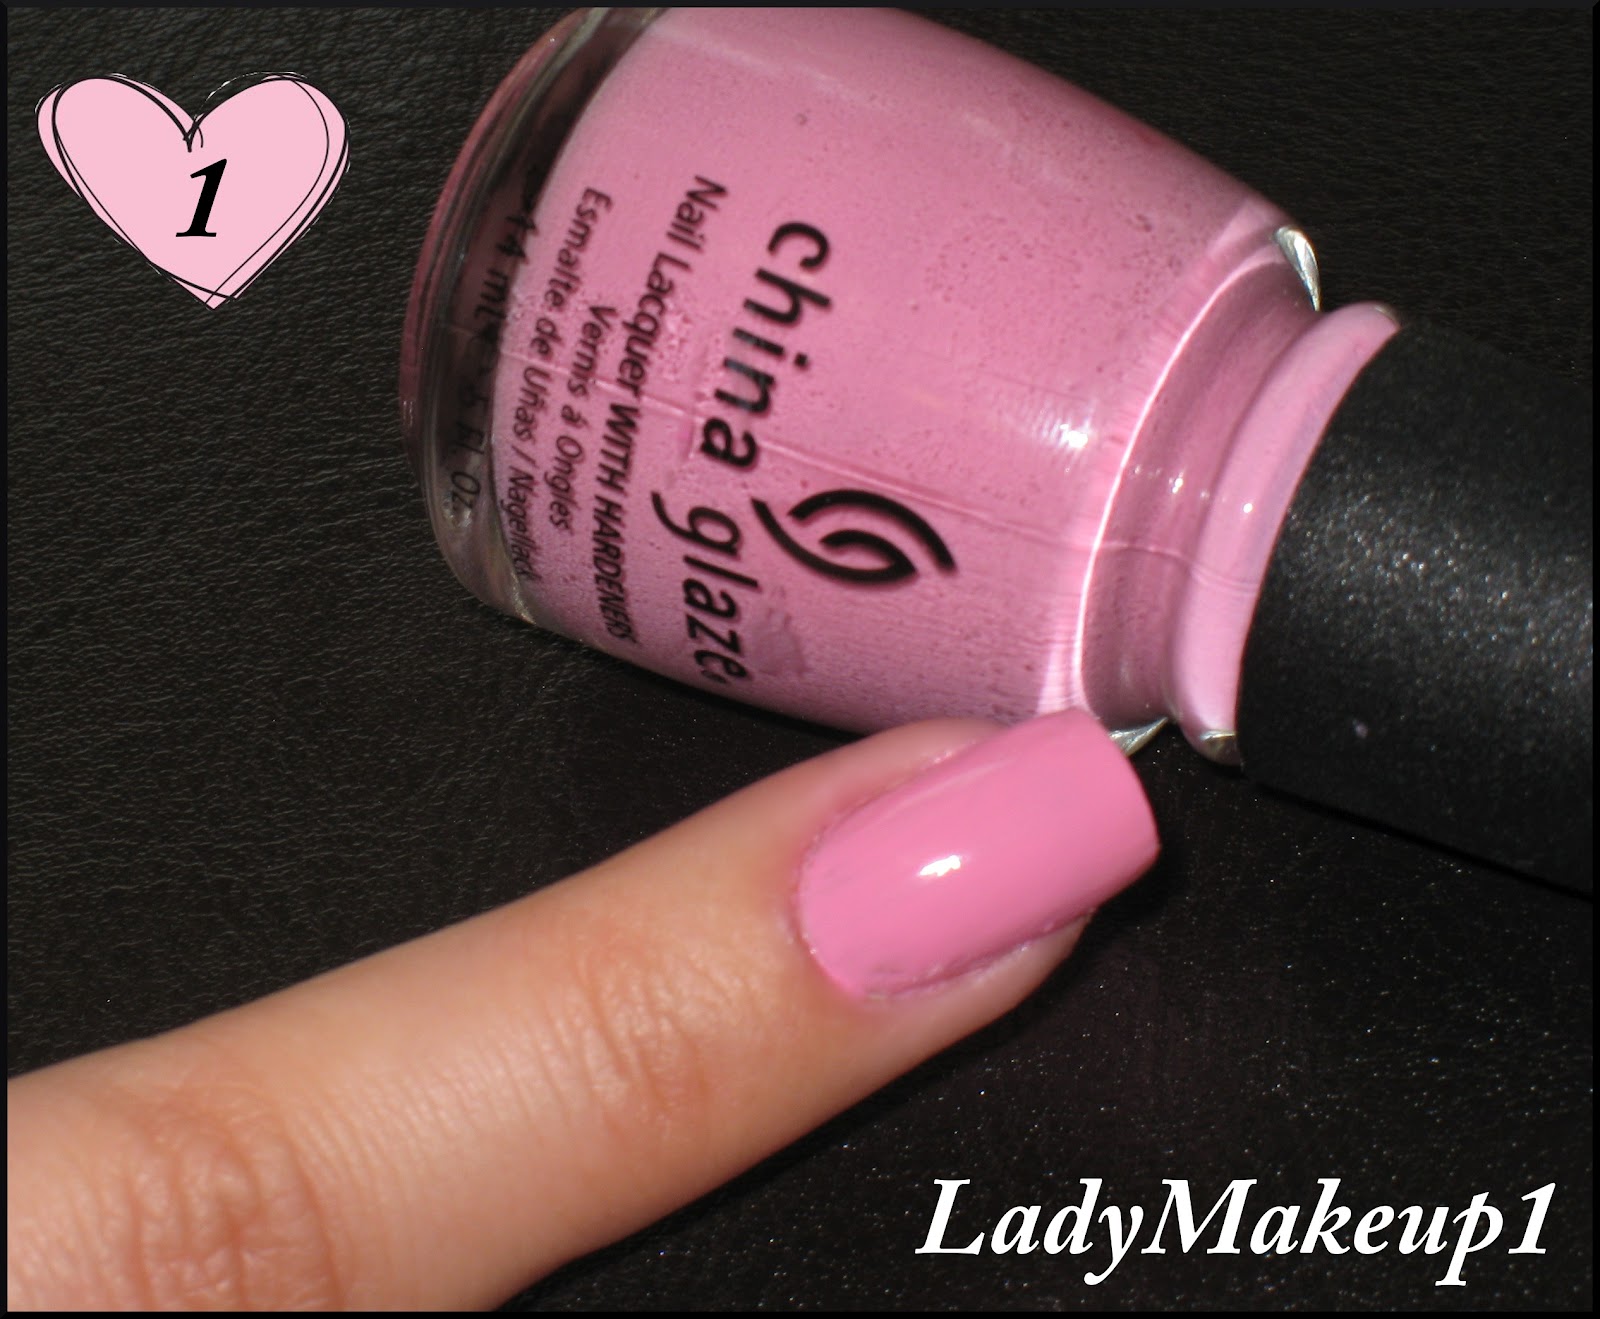
-First Step-
Paint your nails with the lightest color of the bunch and wait for it to dry completely.
-Primer Paso-
Pinta tus uñas con el color más clarito y espera a que se seque por completo.

-Second Step-
Grab a piece of paper(I am using parchment paper) or something flat that you can apply nail polish in it.
Apply a generous amount of the nail polishes next to each other, make sure they are just touching at the edges.
-Segundo Paso-
Agarra un pedazo de papel (yo estoy utilizando papel pergamino grueso) o alguna superficie plana donde puedas aplicar el esmalte. Aplica una generosa cantidad de esmalte en la superficie plana, uno cerca del otro, pero asegúrate de que solo esten rosandose entre los bordes.

-Third step-
With the help of the stick mix a little bit of the colors together where they meet.
Remember that for a big fade of colors mix a bigger section, just like I am doing here, and if you want just a slightly effect, just mix a little bit of the colors.
-Tercer paso-
Con la ayuda del palito mezcla los colores entre si.
Recuerda que a mayor mezcla de color, la esfumatura será más grande, así como me salió a mi, pero si lo que buscas es un efecto ligero, solo mezcla un poquito los colores

-Fourth Step-
Take your sponge and dab it on to the mixture a couple of times to saturate it.
-Cuarto Paso-
Agarra tu esponjita y a golpesitos asegurate de embeber la esponja con el esmalte.

-Fifth step-
Press the sponge on your nails. Keep dabbing and moving slightly up and down the sponge to create the desired effect. Repeat this step a couple of times to make the effect more intense but make sure every time you repeat it, the nail polish is dry.
-Quinto Paso-
A golpesitos presiona la esponja en las uñas, Sigue haciendolo y al mismo tiempo mueve la esponjita de arriba hacia abajo ligeramente para crear el efecto deseado.
Repite este paso un par de veces más para intensificar el efecto pero asegúrate de que cuando lo hagas el esmalte este seco.

Now just apply 2 layers(or more!) of your favorite topcoat and clean the excess nail polish.
and voilà, all done!!!!!
Ahora solo aplica 2 capas ( o más!) de esmalte transparente y limpia el exceso del mismo.
Y voilà, todo listo!!!

Isn't it cute? I love this ombre look on my nails, You should try it too!!!
This is very simple to do, I hope you like it.
Lots of love.
No es precioso? Me encanta este estilo ombre en las uñas, Intentalo tu también!!
Este proceso es muy simple de realizar, espero que les haya gustado.
Muchos besos.
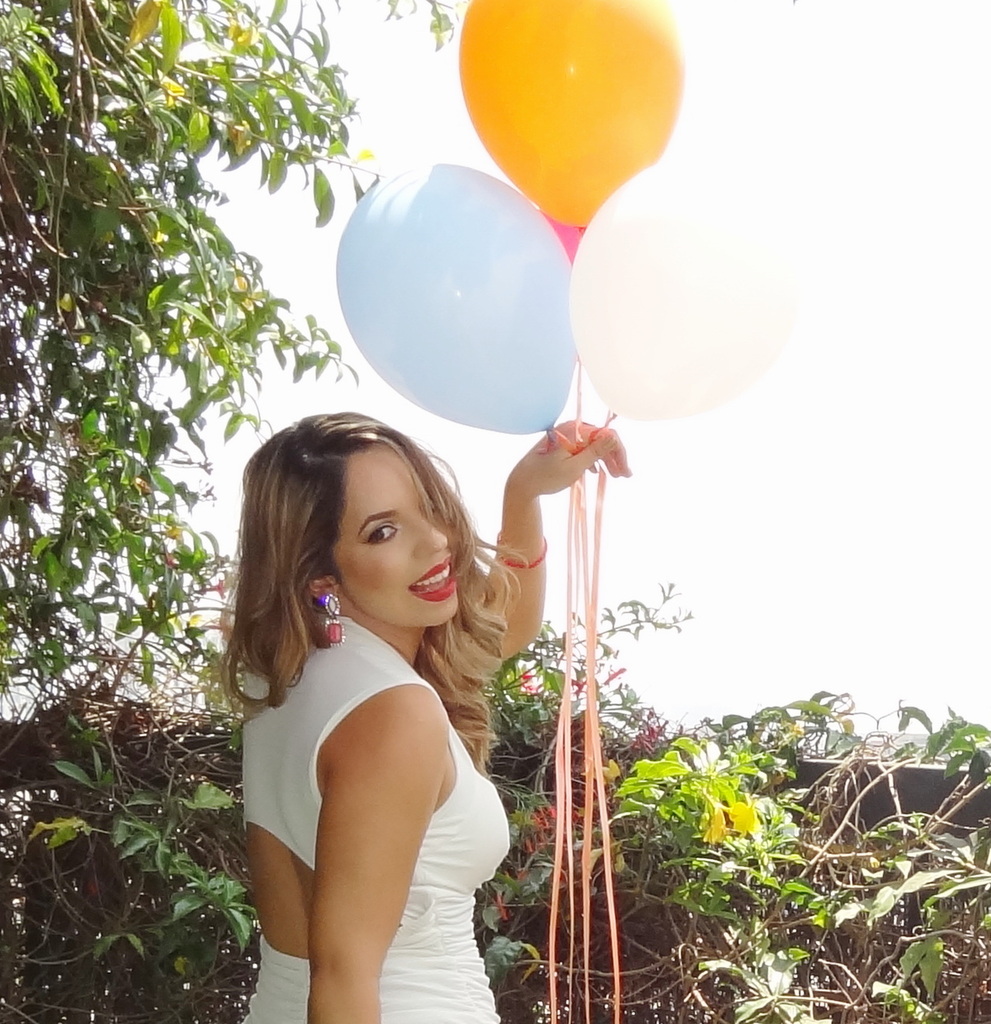
Now here is a sneak peek of an "outfit of the day" video I am preparing for you, my second one!!
I will upload the video soon. ^_^
Aqui les dejo una probadita del video de moda que estoy preparando para ustedes.
Subiré el video prontito. ^_^


10 comments
Lidissimo o esmalte..amei esses tons rosinhas :)
ReplyDeletebeijos e boa semana
http://www.cosasde-ladydiva.com/
Obrigada!!!! ^_^
ReplyDeleteHave a great week sweetie.
Te quedaron bien bonitas, espero me salga :D
ReplyDeleteGracias Grisel, te va a salir!!!
ReplyDeleteEs bien facil, ya verás y luego me contarás.
Besos guapa.
Super lindo el mani! y muy bonito tu outfit!
ReplyDeleteMe encantaria tratar de hacerlo! Pero no se que tan bien se va a ver con uñas mas chicas :P
ReplyDeletemuy bonitas!a mi me encanta asi degradadas,queda bien bonito,y tu outfit precioso,por cierto de donde son tus zapatos?los amooo y los quiero bss wapa
ReplyDeleteHola Leti, los zapatos son de pinkbasis.com
ReplyDeleteojalá los puedas sonseguir ahora porque son muy económicos.
Besitos y gracias por comentar amor.
My partner and I absolutely love your blog and find the majority of your post's to be exactly what I'm looking for.
ReplyDeletecan you offer guest writers to write content for you personally?
I wouldn't mind composing a post or elaborating on a few of the subjects you write related to here.
Again, awesome weblog!
Also visit my web site basement window
Increible post. Muy bonitas uñas y tu guapisima, das un gran toque de Moda y Estilo al blog.
ReplyDeleteI love to read new comments...
♥ Thanks for sharing what is on your mind with me!
Me encanta leer nuevos comentarios...
♥Gracias por compartirlos conmigo!